
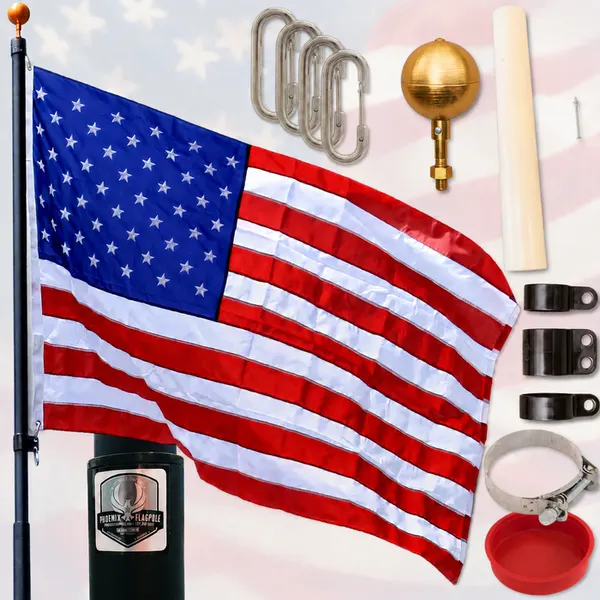




DIY installation
Installation Guide
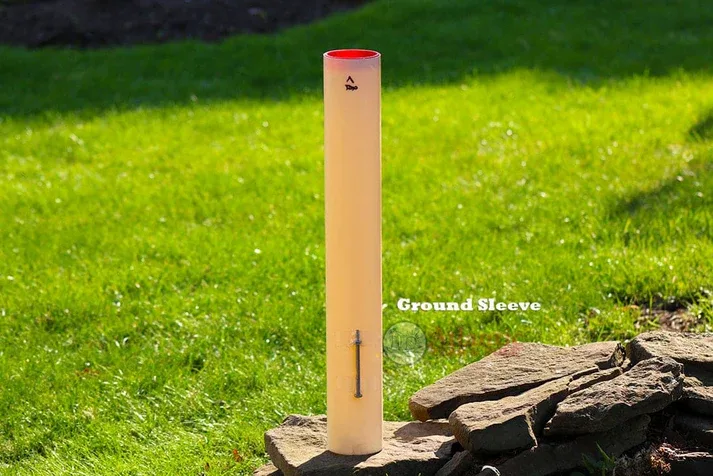
The ground sleeve sets your Phoenix in concrete for its 100 MPH Wind-Rated Performance. Digging and pouring take an afternoon; then the concrete sets for 24-48 hours.
- Hole
- 12-14 in. wide, 28 in. deep
- Concrete
- 2-3 bags, 50 lb
- Set time
- 24-48 hours
Step-by-Step Installation
Step 1: Dig the Foundation Hole
Select a clear spot 10-15 feet away from your home, keeping an eye out for power lines or tree branches. Dig a cylindrical hole approximately 12-14 inches in diameter and 28 inches deep. Dig the full depth: the 100 MPH Wind-Rated Performance assumes a properly set ground sleeve.
Step 2: Add Drainage Gravel
Pour 4-6 inches of gravel or crushed stone into the bottom of the hole. This step is critical because it forces rainwater away from the sleeve and base of the flagpole, preventing water accumulation and rust issues.
Step 3: Set the Ground Sleeve
Seat the heavy-duty PVC or ABS ground sleeve (included in your kit) down into the gravel — don't just rest it on the soil and pour gravel around it. Working it into the gravel keeps drainage under the sleeve and seals the bottom edge so wet concrete can't creep underneath. Check that it's completely upright and plumb from multiple directions before moving on.
Step 4: Level and Pour the Concrete
Slowly pour the mixed Quick-Setting Concrete around the ground sleeve. Do not let concrete fall inside the sleeve! Use a level repeatedly against the side of the sleeve to ensure it remains perfectly 90-degrees plumb while the concrete sets. Once poured, do not disturb the sleeve for 24-48 hours.
Step 5: Slide the Flagpole In
Slip the bottom of the Phoenix Flagpole right into the set ground sleeve. Attach your hardware, unclip the flag, and extend the pole segment by segment, twisting to lock the Securi-Lok pins in place. Done.