Flagpole Placement Guide: HOA Rules, Property Lines, and Optimal Positioning
Installing a residential flagpole should be straightforward—but homeowners’ associations (HOAs) and local ordinances can add layers of requirements that affect height, placement, lighting, materials, and even color. This guide explains how to navigate HOA flagpole rules, what “reasonable restrictions” typically look like, how to read property lines and easements, and where to put a flagpole in your yard for visibility, safety, and curb appeal. You’ll also learn practical tips on sun exposure, lighting, and landscaping integration so your installation looks intentional and stays compliant. The information below is general—always confirm with your HOA and local building department before you buy or dig.
Key takeaways / Summary
- HOA basics: Most HOAs allow the U.S. flag but may regulate height, location (front yard vs. back), setbacks from property lines, colors/finishes, and lighting. Always request and follow written approval.
- Federal and state laws: The Freedom to Display the American Flag Act (2005) protects your right to display the flag, subject to reasonable HOA restrictions for safety and aesthetics. Some states add extra protections—check your local statutes.
- Local ordinances: City/county codes may set maximum height, require permits beyond a certain size, and impose setbacks from property lines and utilities. Call 811 before you dig.
- Where to put a flagpole in your yard: Choose a location with clear lines of sight from the street, ample clearance from structures and power lines, and predictable wind exposure. Avoid easements and underground utilities.
- Lighting and flag etiquette: If you fly the flag overnight, ensure it’s properly illuminated. Consider solar lighting to keep wiring simple. See Atlantic’s guide: Solar Flagpole Light and Lighting for Flagpoles.
- Materials and durability: Aluminum telescoping systems are popular for quiet operation (no external halyard clanging), corrosion resistance, and quick lowering in storms. Match finishes to HOA guidelines.
- Noise and neighbors: If noise is a concern, consider telescoping designs with internal hardware instead of external ropes and pulleys. Use swivels/anti-wrap features to reduce flapping wear.
- Landscaping integration: Keep 3–4 ft of clear space around the base, plan for drainage, and use plantings or low hardscape to frame—not crowd—the pole.
- Budget planning: Costs vary with height, finish, foundation work, hardware, and lighting. Factor in permits, HOA application fees (if any), and long-term maintenance.
- Approval checklist: Submit a simple site plan with distances to property lines and structures, pole height/finish, lighting plan, and notes on utilities. Keep it neat and concise.
Understanding HOA flagpole rules: what “reasonable restrictions” actually mean
Most associations recognize your right to display the U.S. flag, but they can apply “reasonable” rules around how you do it. Common HOA clauses include:
- Height maximums (often aligned with local zoning)
- Setbacks from property lines, sidewalks, and easements
- Location limits (e.g., front yard only, not attached to common areas)
- Color/finish requirements to match community standards
- Lighting guidance (shielded or downward lights for dark-sky compliance)
- Noise limits (mitigating clatter from halyards/hardware)
- Maintenance standards (clean, upright, and safe)
Request your community’s Architectural Guidelines or Design Review standards. Submit a clear, one-page proposal with a simple site sketch: a measured distance from your property lines, house, driveway, and any sidewalks or easements, plus the pole height, finish, lighting plan, and a note confirming you’ll call 811 before excavation. Including a brief product spec sheet and photos of similar neighborhood installations can further streamline approvals.


Residential flagpole regulations: federal, state, and local layers
There are three regulatory layers to understand:
- Federal protections: The Freedom to Display the American Flag Act protects your right to display the U.S. flag on your property. It allows HOAs to impose reasonable rules for safety and aesthetics—so you can be required to meet height, lighting, or material standards. The U.S. Flag Code is advisory, but many HOAs reference it for etiquette and lighting.
- State statutes: Some states further limit how HOAs can restrict flag displays and may protect service flags, POW/MIA flags, or certain seasonal displays. Check your state’s property/association laws.
- Local codes: City and county zoning often define height limits, setbacks, footings, and permits. For example, some localities require permits above a certain height or when you add permanent foundations within setbacks. Always confirm with your building department.
As you evaluate your site, keep these layers in view: meet the strictest rule that applies, document compliance, and include that documentation in your HOA submittal.
Property lines, easements, and utilities: place it right the first time
An HOA-approved location can still run afoul of your local utility or drainage authority if it’s inside an easement. Follow this checklist:
- Locate your property corners: Find survey pins or use your plat map to measure setbacks. If in doubt, hire a surveyor—cheaper than moving a foundation later.
- Identify easements: Look for drainage, sewer, utility, or shared-access easements on your plat. Avoid placing the pole (or its foundation) inside these zones.
- Call 811: Request underground utility marking for power, gas, water, fiber, and irrigation. Schedule this before digging your sleeve or foundation.
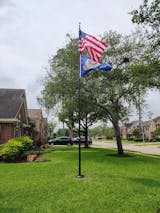
- Confirm clearances: Never install below power lines. As a rule of thumb, set the pole far enough from property lines and overhead lines that, if it ever failed, it would not reach them; many homeowners use a “distance ≈ pole height” guideline where feasible.
Documenting these checks in your approval packet reassures both your HOA and your future self that the location is safe and permanent.
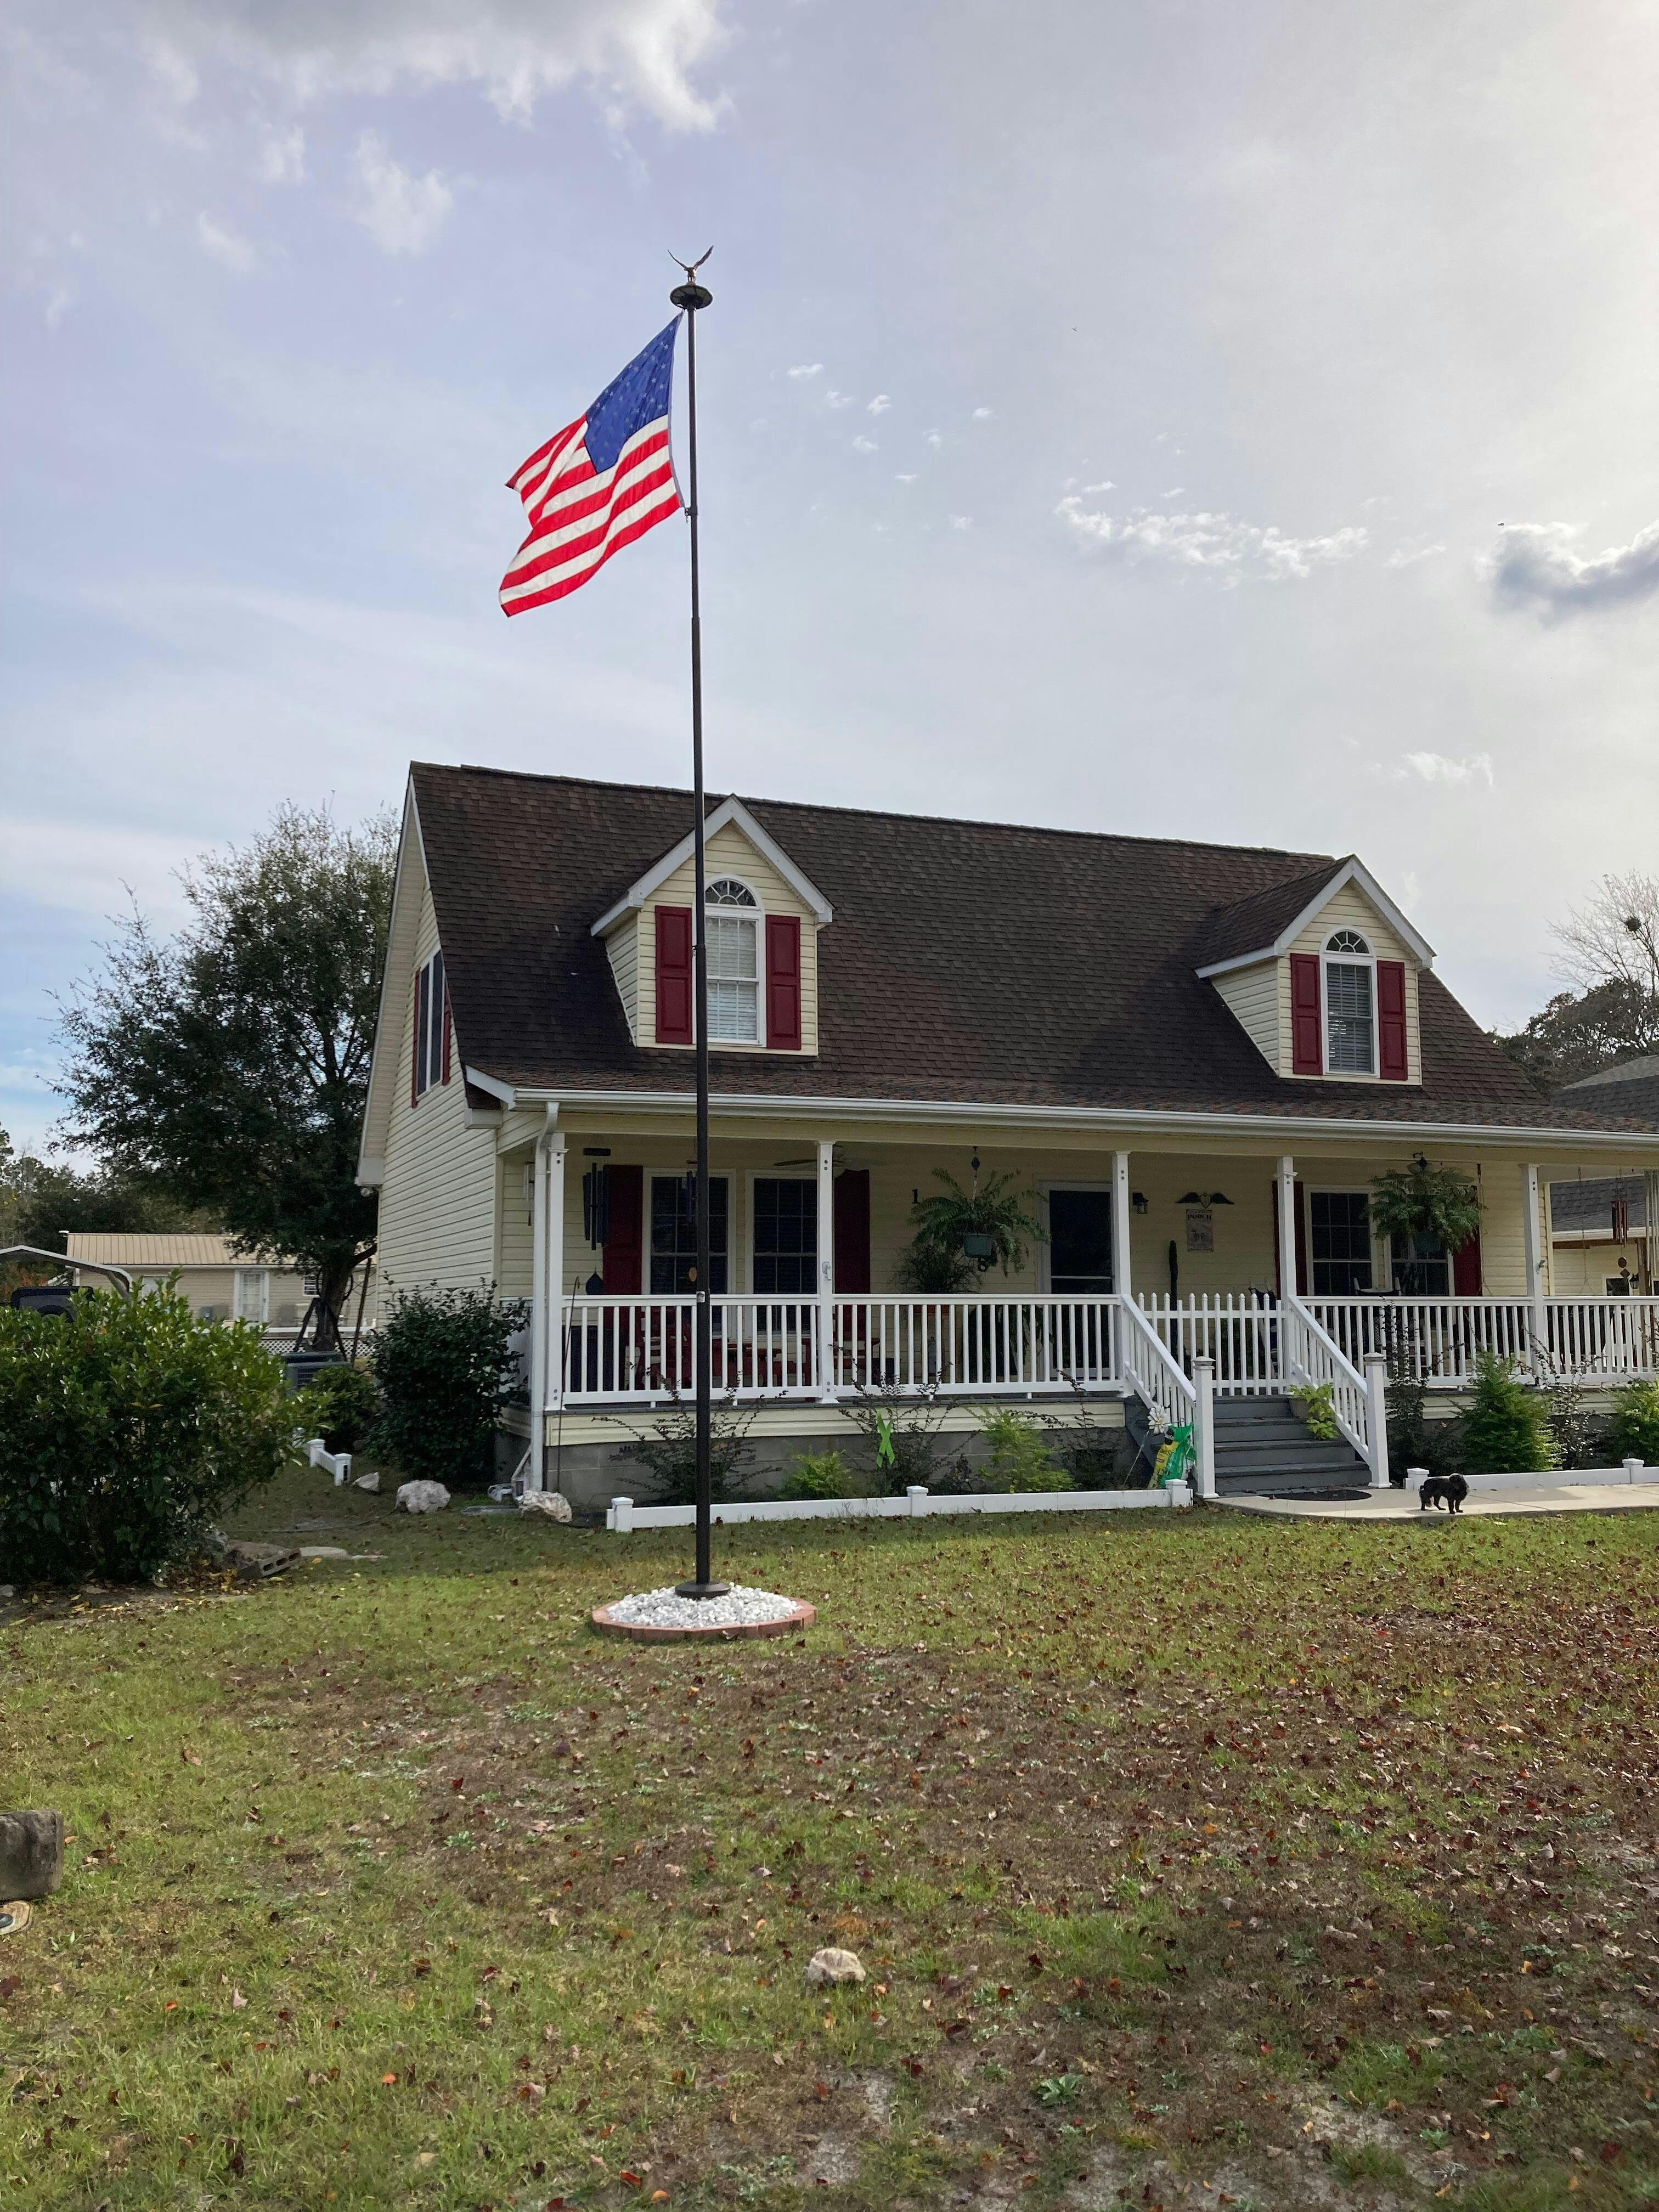
Where to put a flagpole in your yard: sightlines, symmetry, and wind
Placement is equal parts compliance and design. Consider:
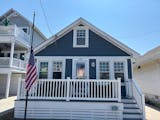
- Street visibility: For most HOAs, a front-yard location where the flag is visible from the street is preferred.
- Architectural alignment: Align the pole with key sightlines—front door axis, a primary window, or centered with a walkway—to create visual balance.
- Wind and turbulence: Trees, fences, and buildings create turbulence. A few extra feet from large structures improves flag flow and reduces wear.
- Neighbor impact: Avoid placing the pole so the flag frequently brushes a neighbor’s tree or roof. If you share a zero-lot line or have tight setbacks, shift toward the home’s visual center.
- Safety margins: Keep safe clearance from driveways, sidewalks, delivery paths, and street sight triangles. Ensure the foundation won’t interfere with irrigation lines.
Once you have a preferred spot, step back to the sidewalk and view the location from multiple angles at different times of day. This quick check often reveals better alignment or lighting opportunities.


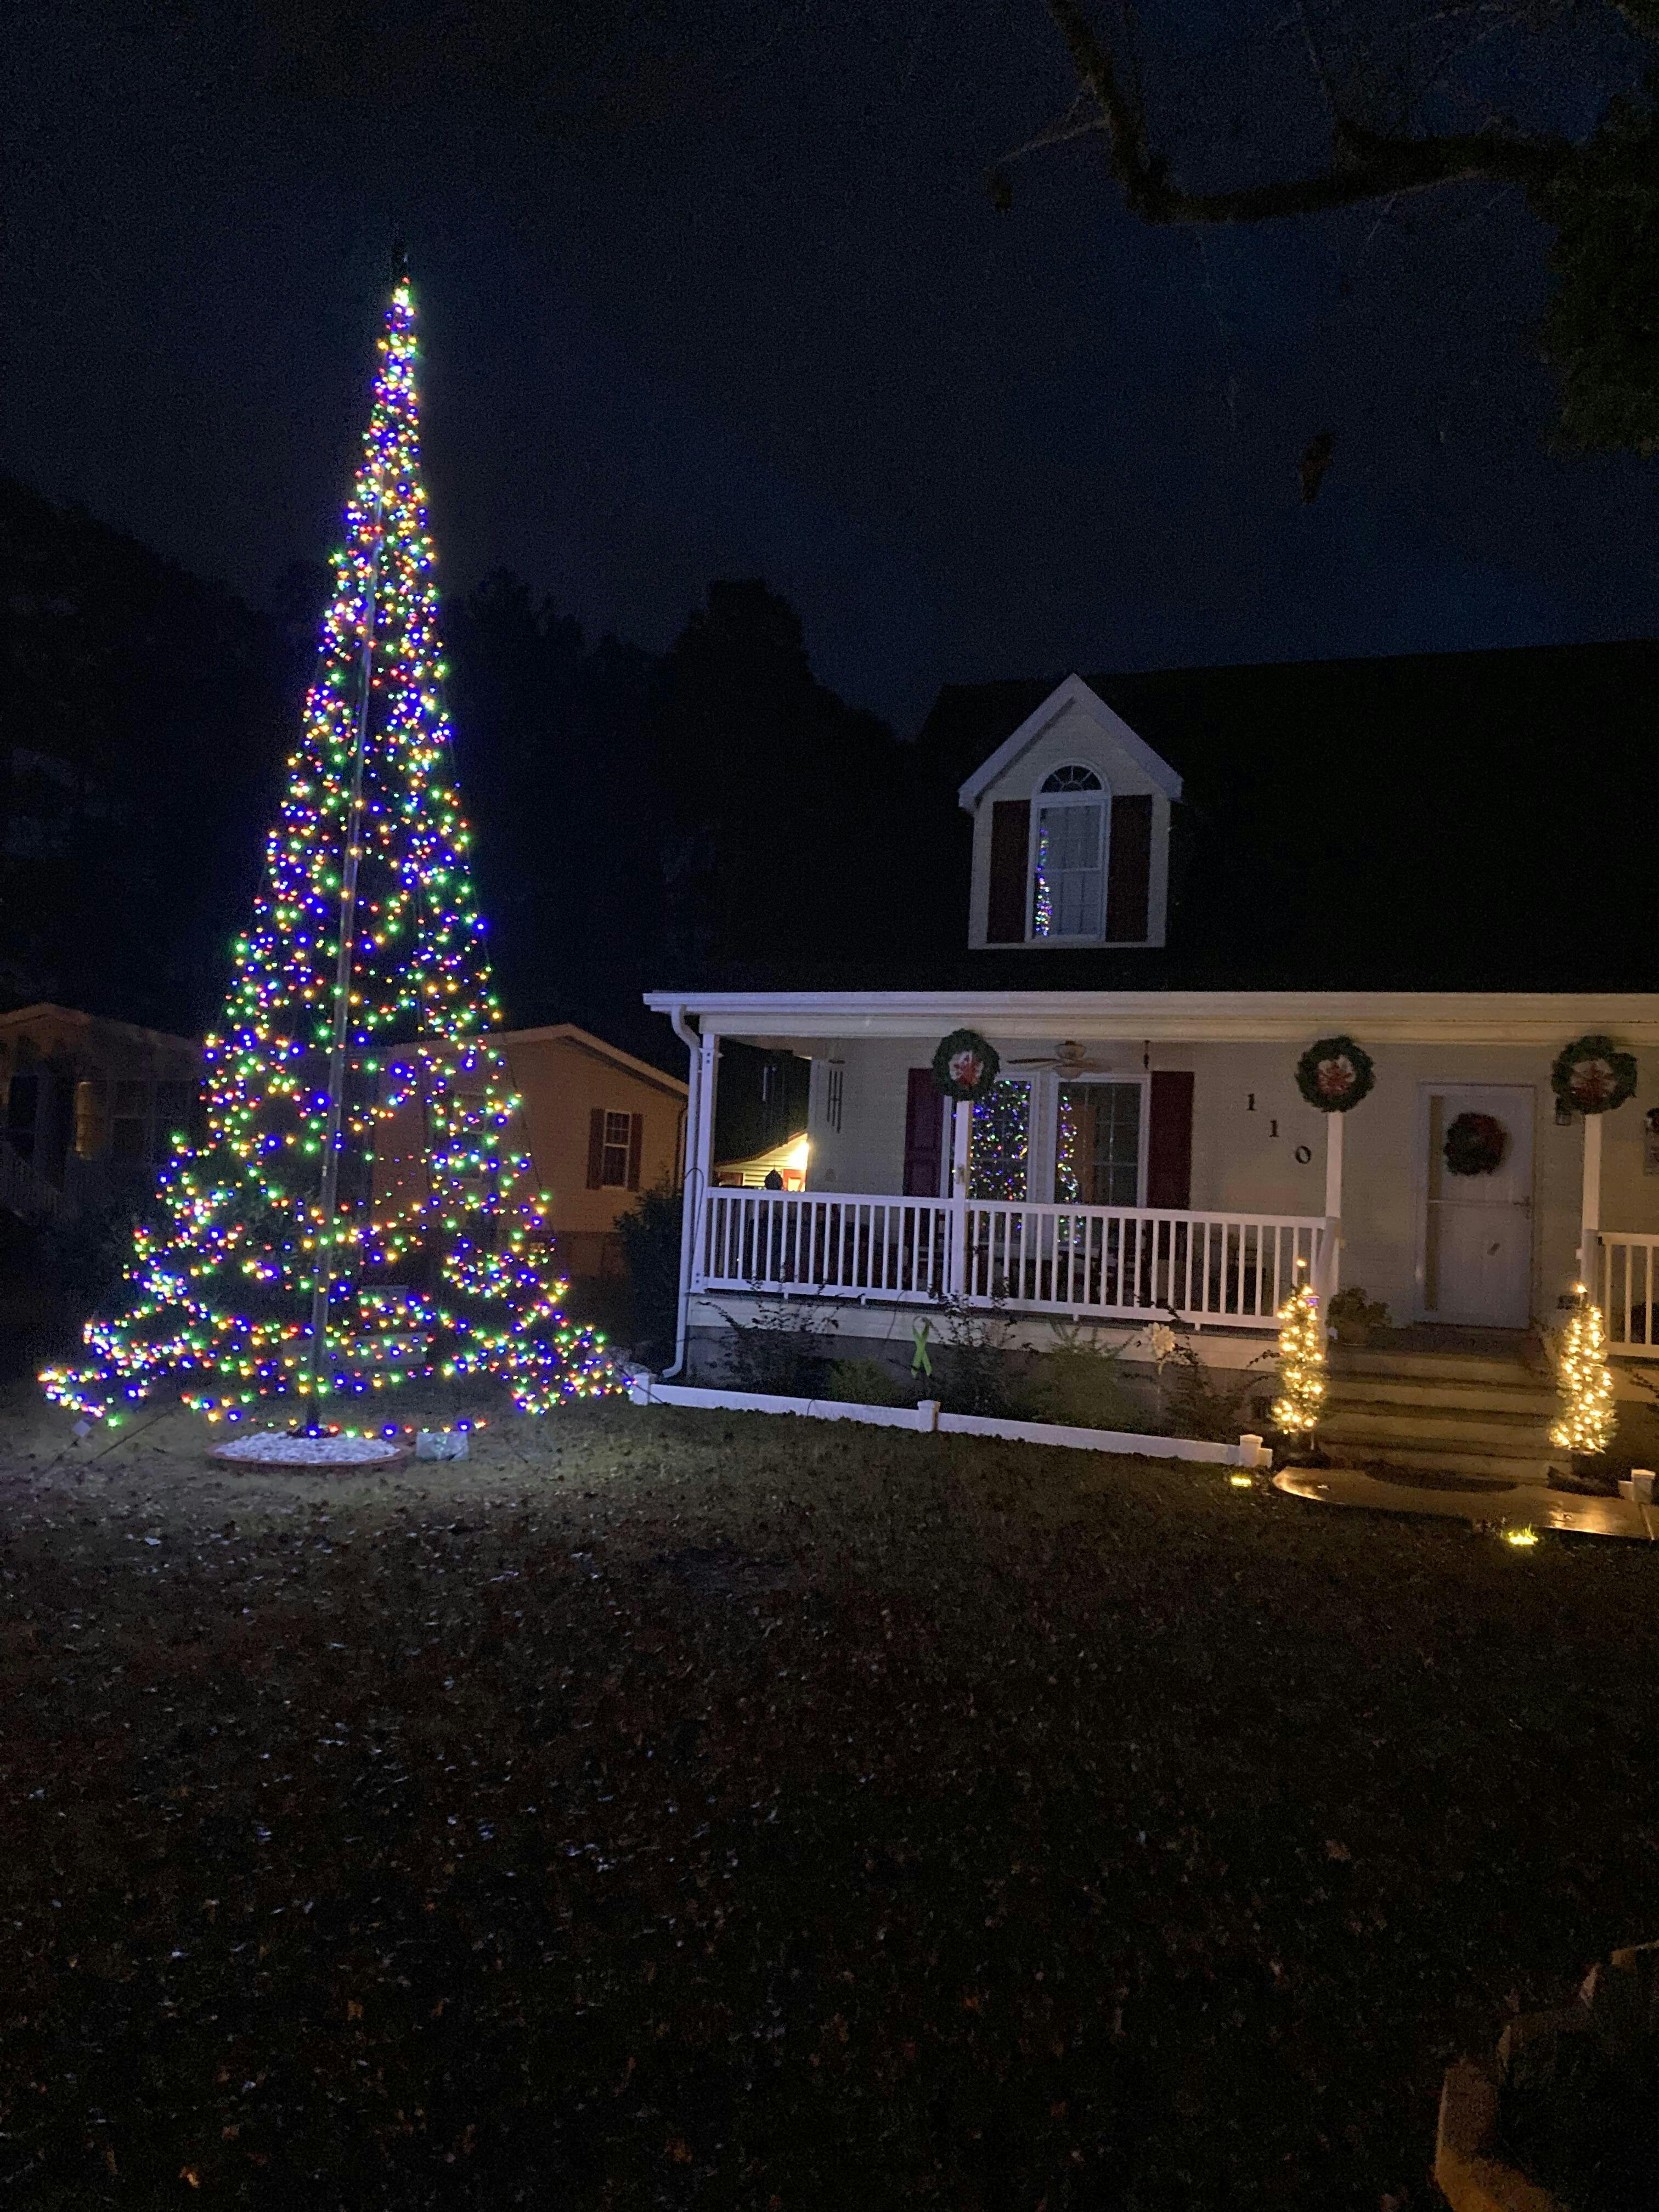
Sun exposure, lighting, and the Flag Code
If you fly the U.S. flag after sunset, the U.S. Flag Code calls for proper illumination. When wiring is impractical, solar units are a practical solution—no trenching or conduit, and easy compliance with dark-sky practices when you choose focused, downward lighting.
- Orientation: Eastern and southern exposures gain early and consistent sun for solar charging; avoid persistent shade from trees or eaves.
- Beam control: Choose lighting that focuses on the flag, not neighboring windows or the night sky.
- Maintenance: Keep the solar panel clean and angled for your latitude. Trim nearby growth to preserve charging hours. Replace rechargeable batteries as needed to maintain output.
For detailed lighting tips, see: Solar Flagpole Light and Lighting for Flagpoles.
Materials and finishes HOAs tend to prefer
While each association differs, materials that combine durability with a clean, low-glare appearance are usually easiest to approve:
- Aluminum poles: Lightweight, corrosion-resistant, and available in telescoping designs that reduce noise from external halyards. Telescoping systems also simplify lowering the flag quickly in storms or for maintenance—see general insights under Telescoping Flagpole.
- Finish: Clear anodized or subtle powder-coat finishes tend to blend well and minimize glare. Some HOAs specify “satin” or “matte” looks.
- Hardware: Stainless steel and UV-stable components resist weather; swivels and anti-wrap accessories help reduce flag wear.
For help understanding hardware options and accessories, browse: Flag Pole Topper and Flags for Flag Poles.
Setbacks, height, and proportion
Codes and HOAs typically regulate height and placement distance from property lines. Even when there’s no numeric rule, a good rule of thumb is to position your flagpole so it won’t overhang or fall into a neighbor’s property if it ever failed. As for proportion, aim for a balanced pairing between pole height and flag size.
Common proportion guideline: the flag’s length (fly) is about one-quarter of pole height. Typical pairings include:
- 20 ft pole → 3×5 ft or 4×6 ft flag
- 25 ft pole → 4×6 ft flag
- 30 ft pole → 5×8 ft flag
Always verify your exact permitted height with your city/county zoning office, and include the figure in your HOA submittal. If you need help choosing a height that fits your house scale and streetscape, see Atlantic’s general insights here: Flagpole and Telescoping Flagpole.
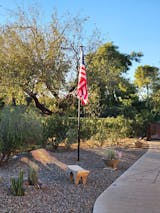
Landscaping and base design
Flagpoles look best when integrated—not hidden. Keep clear working radius for raising, lowering, and maintenance, then use low plantings or hardscape to frame the base.
- Drainage: Use a proper sleeve and base design that drains. Avoid trapping water at the pole base.
- Mulch and rock: Keep organics away from the sleeve; rock or pavers reduce rot and keep a tidy edge.
- Sightline layering: Low shrubs or groundcover can provide scale without blocking the flag.


Noise control and neighbor-friendly operation
External halyards and metal clips tapping a pole can bother close neighbors—especially in calm-at-night communities. To minimize noise:
- Consider telescoping designs with internal hardware instead of external halyards.
- Use non-metal clips or dampers to reduce tapping.
- Maintain swivels and anti-wrap fittings to keep flags from slapping the pole excessively.
If your pole is near bedroom windows—yours or a neighbor’s—note this in your HOA packet along with the steps you’re taking to reduce sound.
High-wind, coastal, and cold-weather considerations
Coastal and high-elevation neighborhoods often have stricter standards due to wind loads. Cold-weather regions need components that perform in freeze-thaw cycles:
- Wind ratings: Confirm the pole’s wind rating aligns with your locality’s typical gusts. Some HOAs ask for spec sheets; include them in your submittal.
- Storm protocol: Lower flags during severe weather to prolong fabric life and reduce strain on components.
- Winter care: Keep sleeves draining; clear snow/ice around the base to avoid frost wedging.


Step-by-step: your HOA approval packet
Streamline approvals with a concise, professional submittal:
- Cover note: One paragraph describing the project, including height, finish, and lighting approach.
- Site plan: A simple sketch marking the pole location, distances to property lines, house, driveway, sidewalks, and any easements.
- Compliance notes: A bullet list referencing relevant HOA rules (height, color, lighting). Mention that you’ll follow local permit requirements and call 811.
- Lighting plan: State whether you’ll use solar or wired lighting, with a note about focused, downward illumination per Flag Code best practices.
- Neighbor considerations: If close to adjoining lots, highlight noise-reduction choices (e.g., telescoping design) and setbacks that preserve privacy.
Attach manufacturer specs, a simple photo of the proposed location, and one or two reference photos of similar neighborhood installations. Clear documentation reduces back-and-forth and speeds decisions.
Installation essentials: safety, sleeves, and curing time
Even small residential poles deserve careful installation:
- Call 811: Have utilities marked before you dig.
- Footing and sleeve: Follow the manufacturer’s sleeve and base recommendations for your soil conditions. Ensure proper drainage.
- Plumb and cure: Use a level in multiple directions, brace if needed, and let the foundation fully cure before loading the pole. Depending on conditions and product guidance, curing can range from a day to several days.
- Hardware check: Inspect fasteners, swivels, and clips before first raise. Confirm smooth operation and that nothing scrapes the pole finish.
For installation planning, explore Atlantic’s helpful overview: Flagpole Kit and general guides in News.
Maintenance and long-term care
Regular upkeep keeps your display looking dignified and compliant:
- Monthly: Rinse road dust and pollen; check clips and swivels.
- Quarterly: Inspect for finish wear, tighten hardware, and check lighting output/solar panel cleanliness.
- Seasonal: Lower during severe weather; adjust landscaping around the base; ensure drainage is clear.
- Flag care: Retire worn flags promptly. Follow U.S. Flag Code for respectful handling and disposal.
In coastal areas, add a quick freshwater rinse after storms to reduce salt buildup on hardware and finishes.
Special scenarios: corner lots, historic districts, and shared views
- Corner lots: Maintain setbacks to both streets. Aim the pole for a primary façade view but confirm sightline safety for traffic.
- Historic districts: Some boards require specific finishes or discrete lighting. Provide samples and photos in your submittal.
- Shared views: In townhomes or clustered lots, collaborate with neighbors so your pole doesn’t interfere with sightlines or nighttime comfort.
Frequently asked questions
Can an HOA ban flagpoles? HOAs typically cannot prohibit the U.S. flag outright, but they can set reasonable rules on how you display it—height, location, lighting, and maintenance standards.
Do I need a permit? Some localities require permits above certain heights or for permanent foundations. Check your building department before you submit to your HOA.
What height should I pick? Choose a height proportional to your home and allowed by local rules. Many single-story homes pair well with moderate-height poles; larger lots or multi-story façades may accommodate taller options if permitted.
Can I fly at night? Yes, provided the flag is properly illuminated. Solar lighting is popular because it avoids trenching and wiring.
What about noise? Telescoping systems can reduce noise compared to external halyards. Also, keep hardware maintained and consider non-metal clips.