Buy a 30‑Minute Flagpole Installation Kit: An Expert Guide to Choosing Quality, Speed, and Lasting Value
If you’ve hesitated to add a flagpole because installation looks like an all‑day, dig‑and‑pour project, you’re not alone. Traditional flagpoles often require post‑hole digging, concrete curing, and return trips to finish mounting the hardware. A well‑designed 30‑minute installation kit changes that experience entirely—reducing setup to a single session with pre‑fit components and clear instructions. Fast doesn’t have to mean sloppy. With the right kit, you can get the speed you want and the fit‑and‑finish you’ll admire for years.
Key Takeaways / Summary
- What “30‑minute” really means: Look for kits with pre‑assembled or quick‑connect hardware, a ground sleeve or simplified anchor system, and clear, single‑session instructions.
- Materials matter: Anodized aluminum is the workhorse for residential flagpoles; quality finishes resist corrosion and maintain sheen—like choosing fine Italian wool that holds its shape and drape.
- Time comparison: A streamlined kit can be installed in roughly one session; traditional setups can stretch to multiple hours and sometimes require concrete cure time.
- Tiering to fit your budget: Basic kits cover essentials; premium kits add higher‑grade finishes and better hardware; deluxe kits may bundle lighting or enhanced wind performance. Choose performance where it matters most to you.
- ROI: A DIY kit saves the coordinating, scheduling, and labor cost of a contractor. You gain same‑day results plus long‑term pride of ownership.
- What to look for: Wind‑performance guidance, strong lock mechanisms (for telescoping poles), durable halyard or swivel systems, UV‑resistant flag components, and clear warranty/support.
- Brand confidence: Shop American‑minded quality and read up on technology and care tips from Atlantic Flagpole resources like Best Telescoping Flagpole and Flagpole Kit.
- Installation site prep: Verify local guidelines and utilities, choose a location with sightlines and wind clearance, and plan for drainage.
- Care and longevity: Regularly check connections, keep the finish clean, and follow seasonal best practices—see Atlantic Flag & Pole News for maintenance tips.
1) Problem/Solution: Turn Installation Anxiety Into a 30‑Minute Win
The biggest barrier for many first‑time buyers is the fear of a slow, messy install. Traditional sectional or one‑piece flagpoles often require digging a deep hole, mixing and curing concrete, aligning the base, and carefully mounting the hardware—and that’s before you raise the flag. A well‑engineered, 30‑minute installation kit addresses this by streamlining each step you’d typically struggle with: the ground interface, the mast connections, and the hardware setup.
When you select a kit designed for quick assembly, you get a clear, linear path from box to backyard in one session. Minimize unnecessary steps, focus on precision where it counts, and aim for a clean, resilient finish that looks “right” to the eye and lasts in real conditions.
Next, let’s look at the parts that make fast, reliable installs possible.
2) Complete Kit Breakdown: What a True 30‑Minute Kit Should Include
Fast, clean installation is the result of well‑considered components. When you evaluate a 30‑minute flagpole installation kit, look for the following elements and how they’re designed to reduce steps without compromising quality:
- Ground sleeve or simplified anchor system: This is the key to avoiding multi‑day installs. A robust, properly sized sleeve or anchor solution provides alignment, stability, and a clean interface with the soil, often without concrete curing delays (depending on soil and local guidelines).
- Mast sections (or telescoping system): Telescoping designs shine for DIY. An effective interlocking or locking‑pin mechanism should be intuitive and positive (firm clicks/locks you can feel and trust) with minimal play between sections.
- Hardware, pre‑fit where possible: Cleats, swivel rings, or halyard hardware that’s pre‑installed or quick‑mount reduces fiddling time. Prefer corrosion‑resistant metals and UV‑stable polymers—well‑machined parts improve both function and feel.
- Flag and clips/rings: UV‑resistant flag materials and durable clip/ring interfaces that pivot smoothly are important for daily performance and reduced tangling.
- Instructions that read like a checklist: A single page, step‑by‑step guide with diagrams is ideal. The more the manufacturer anticipates your questions, the faster you’ll move.
- Optional add‑ons: If lighting or decorative toppers are part of your vision, look for kits that are compatible from the start—this matters for wire‑free solar options and topper clearance. See Lighting For Flagpoles and Solar Flagpole Light to explore fit and care.
With components in mind, how does a quick‑install kit actually change the time you spend on site?
3) Installation Time Comparison: 30‑Minute Kit vs. Traditional Setup
What turns hours into minutes? Engineering and pre‑planning. Traditional installations can involve digging, mixing/curing concrete, and then returning to mount the pole. A streamlined kit typically provides a stable ground interface that eliminates or minimizes cure time and includes pre‑assembled or quick‑fit hardware, so you’re not measuring and remounting multiple times.
You’ll still want to prep your site—call utilities as needed, check local rules, and choose a spot with wind clearance and visual prominence. But the on‑the‑day work is pared down to a series of confident steps. For many homeowners, that means finishing in a single session without heavy equipment.
Once you’re confident about time, the next question is how to match performance and budget.
4) Kit Tier Comparison: Basic vs. Premium vs. Deluxe
To align budget with performance, evaluate kits by tier rather than just height. Each tier balances speed, durability, and enhancements:
- Basic: Essential components only. Prioritize a ground sleeve/anchor that is truly stable, a reliable mast interface (often telescoping), and hardware that won’t corrode or seize. This tier suits the buyer who wants a clean, patriotic display with minimal fuss.
- Premium: Upgraded finishes (e.g., higher‑grade anodizing for aluminum), smoother swivel or halyard systems, and stronger locking mechanisms. You’re paying for feel, longevity, and low maintenance.
- Deluxe: Adds aesthetic or functional add‑ons—toppers, solar lighting compatibility, or enhanced wind‑performance guidance. If you live in a region with challenging weather, or you simply want a “complete look” right out of the box, this tier often makes sense.
When you compare tiers, read the fine print: the best 30‑minute kits focus on execution quality (materials, mechanisms, and instructions). That’s what separates a kit you’ll recommend from one you’ll tolerate.
Value isn’t just about what you buy today—it’s also about what it saves you over time.
5) ROI Analysis: DIY Kit vs. Professional Installation
Return on investment for a 30‑minute kit goes beyond dollars. Yes, you avoid scheduling and labor costs of a contractor, and you often avoid paying for return‑trip labor once concrete cures. More importantly, you capture same‑day satisfaction and control over placement, finish care, and ongoing maintenance.
Consider the lifetime value: a quality anodized aluminum mast with robust locking hardware and dependable fittings should deliver years of service with minimal upkeep. Maintenance typically involves quick checks of connections, occasional cleaning, and seasonal considerations—such as what’s covered in the Atlantic Flag & Pole News resources on durability and weather preparedness.
Ready to choose? Use the following framework as you browse.
6) Product Recommendations: How to Choose on Atlantic Flagpole
Specific product listings, prices, and features vary and are updated on the Atlantic Flagpole site. Because this article uses only the exact data provided here and does not introduce unverified product details, use the evaluation framework below when you browse available kits:
- Confirm 30‑minute intent: Look for kits explicitly designed for quick installation (telescoping or simplified anchor systems, pre‑fit hardware, and concise instructions).
- Materials and finish: Anodized aluminum is a strong residential standard. Favor finishes that resist corrosion and pitting and keep a clean sheen.
- Locking and hardware quality: For telescoping systems, lock mechanisms should feel positive. Hardware should be robust and corrosion‑resistant.
- Wind‑performance guidance: Seek clear, conservative advice on flying one or two flags in your typical conditions.
- Compatibility: If you plan to add solar lighting or a specific topper (eagle, ball, etc.), verify compatibility up front. See Flag Pole Topper and Solar Flagpole Light for practical pointers.
- Support and documentation: Clear instructions and accessible support make the 30‑minute promise real.
For deeper context on technology and buyer guidance, explore:
- Best Telescoping Flagpole
- Flagpole Kit
- Flagpole
- Telescoping Flagpole
- 4 Things To Consider Before You Buy A Flagpole
A little planning before installation leads to a smoother, faster day‑of experience. Here’s how successful DIYers approach it.
7) Customer Success Mindset: A 30‑Minute Checklist You Can Trust
Even without individual testimonials here, the patterns for a clean, quick install are consistent across successful DIY builds:
- Dry run: Unpack and lay everything out before you start. Review the instruction sequence once, then begin.
- Prep the site: Choose level ground with clear sightlines, check for roots and utilities, and plan for drainage.
- Focus on the base: The ground sleeve or anchor system is the foundation. Get this step right and everything else aligns smoothly.
- Assemble in order: Follow the manufacturer’s sequence—most quick kits are designed so each step sets you up for the next.
- Test the motion: If telescoping, run the mast through full extension and retraction to confirm positive locks.
- Final check: Inspect hardware for snugness, ensure the flag flies without catching, and confirm the pole is plumb.
8) FAQ: 30‑Minute Flagpole Kits
Q: Can I install a 30‑minute kit by myself?
A: Many homeowners do. If your kit is designed for one‑person installation and your site is straightforward, solo setup is achievable. Having a second set of hands never hurts for alignment and safety.
Q: Do I need concrete?
A: It depends on the kit and your soil. Some quick‑install systems use sleeves or anchors engineered to avoid cure time. Always follow the kit’s specific guidance and local requirements.
Q: What height should I choose?
A: For residential lots, common heights are often chosen to complement rooflines and sightlines. Consider visibility from the street, tree canopy, and proximity to structures.
Q: What about wind?
A: Match your setup to your local wind profile and follow the manufacturer’s guidance on flying one vs. two flags. Quality materials, locking systems, and sensible flag sizes play a big role in performance.
Q: How do I maintain the finish?
A: Clean periodically with mild soap and water and avoid harsh abrasives. Inspect hardware seasonally. For more detail, browse the Atlantic Flag & Pole News section for maintenance tips.
Q: Are lighting and toppers easy add‑ons?
A: Many homeowners add these. Confirm the topper’s compatibility and check solar light mounting style ahead of time. See Lighting For Flagpoles, Solar Flagpole Light, and Flag Pole Topper.
How to Evaluate Quality Like a Pro: The “Italian Suit” Test
Luxury suits are defined by fabric, cut, and construction. Use the same lens here:
- Fabric (Materials): Anodized aluminum is the go‑to for a reason—lightweight, corrosion‑resistant, and stable. The anodizing layer is like a fine cloth’s finish: it protects and presents.
- Cut (Engineering): A telescoping system with positive locks and smooth action should feel intuitive—sections align without play, lock in place confidently, and retract without sticking.
- Construction (Hardware & Fit): Hardware should be machined or molded cleanly, threads should engage smoothly, and mounting points should be reinforced. No burrs, no gimmicks—just purposeful parts.
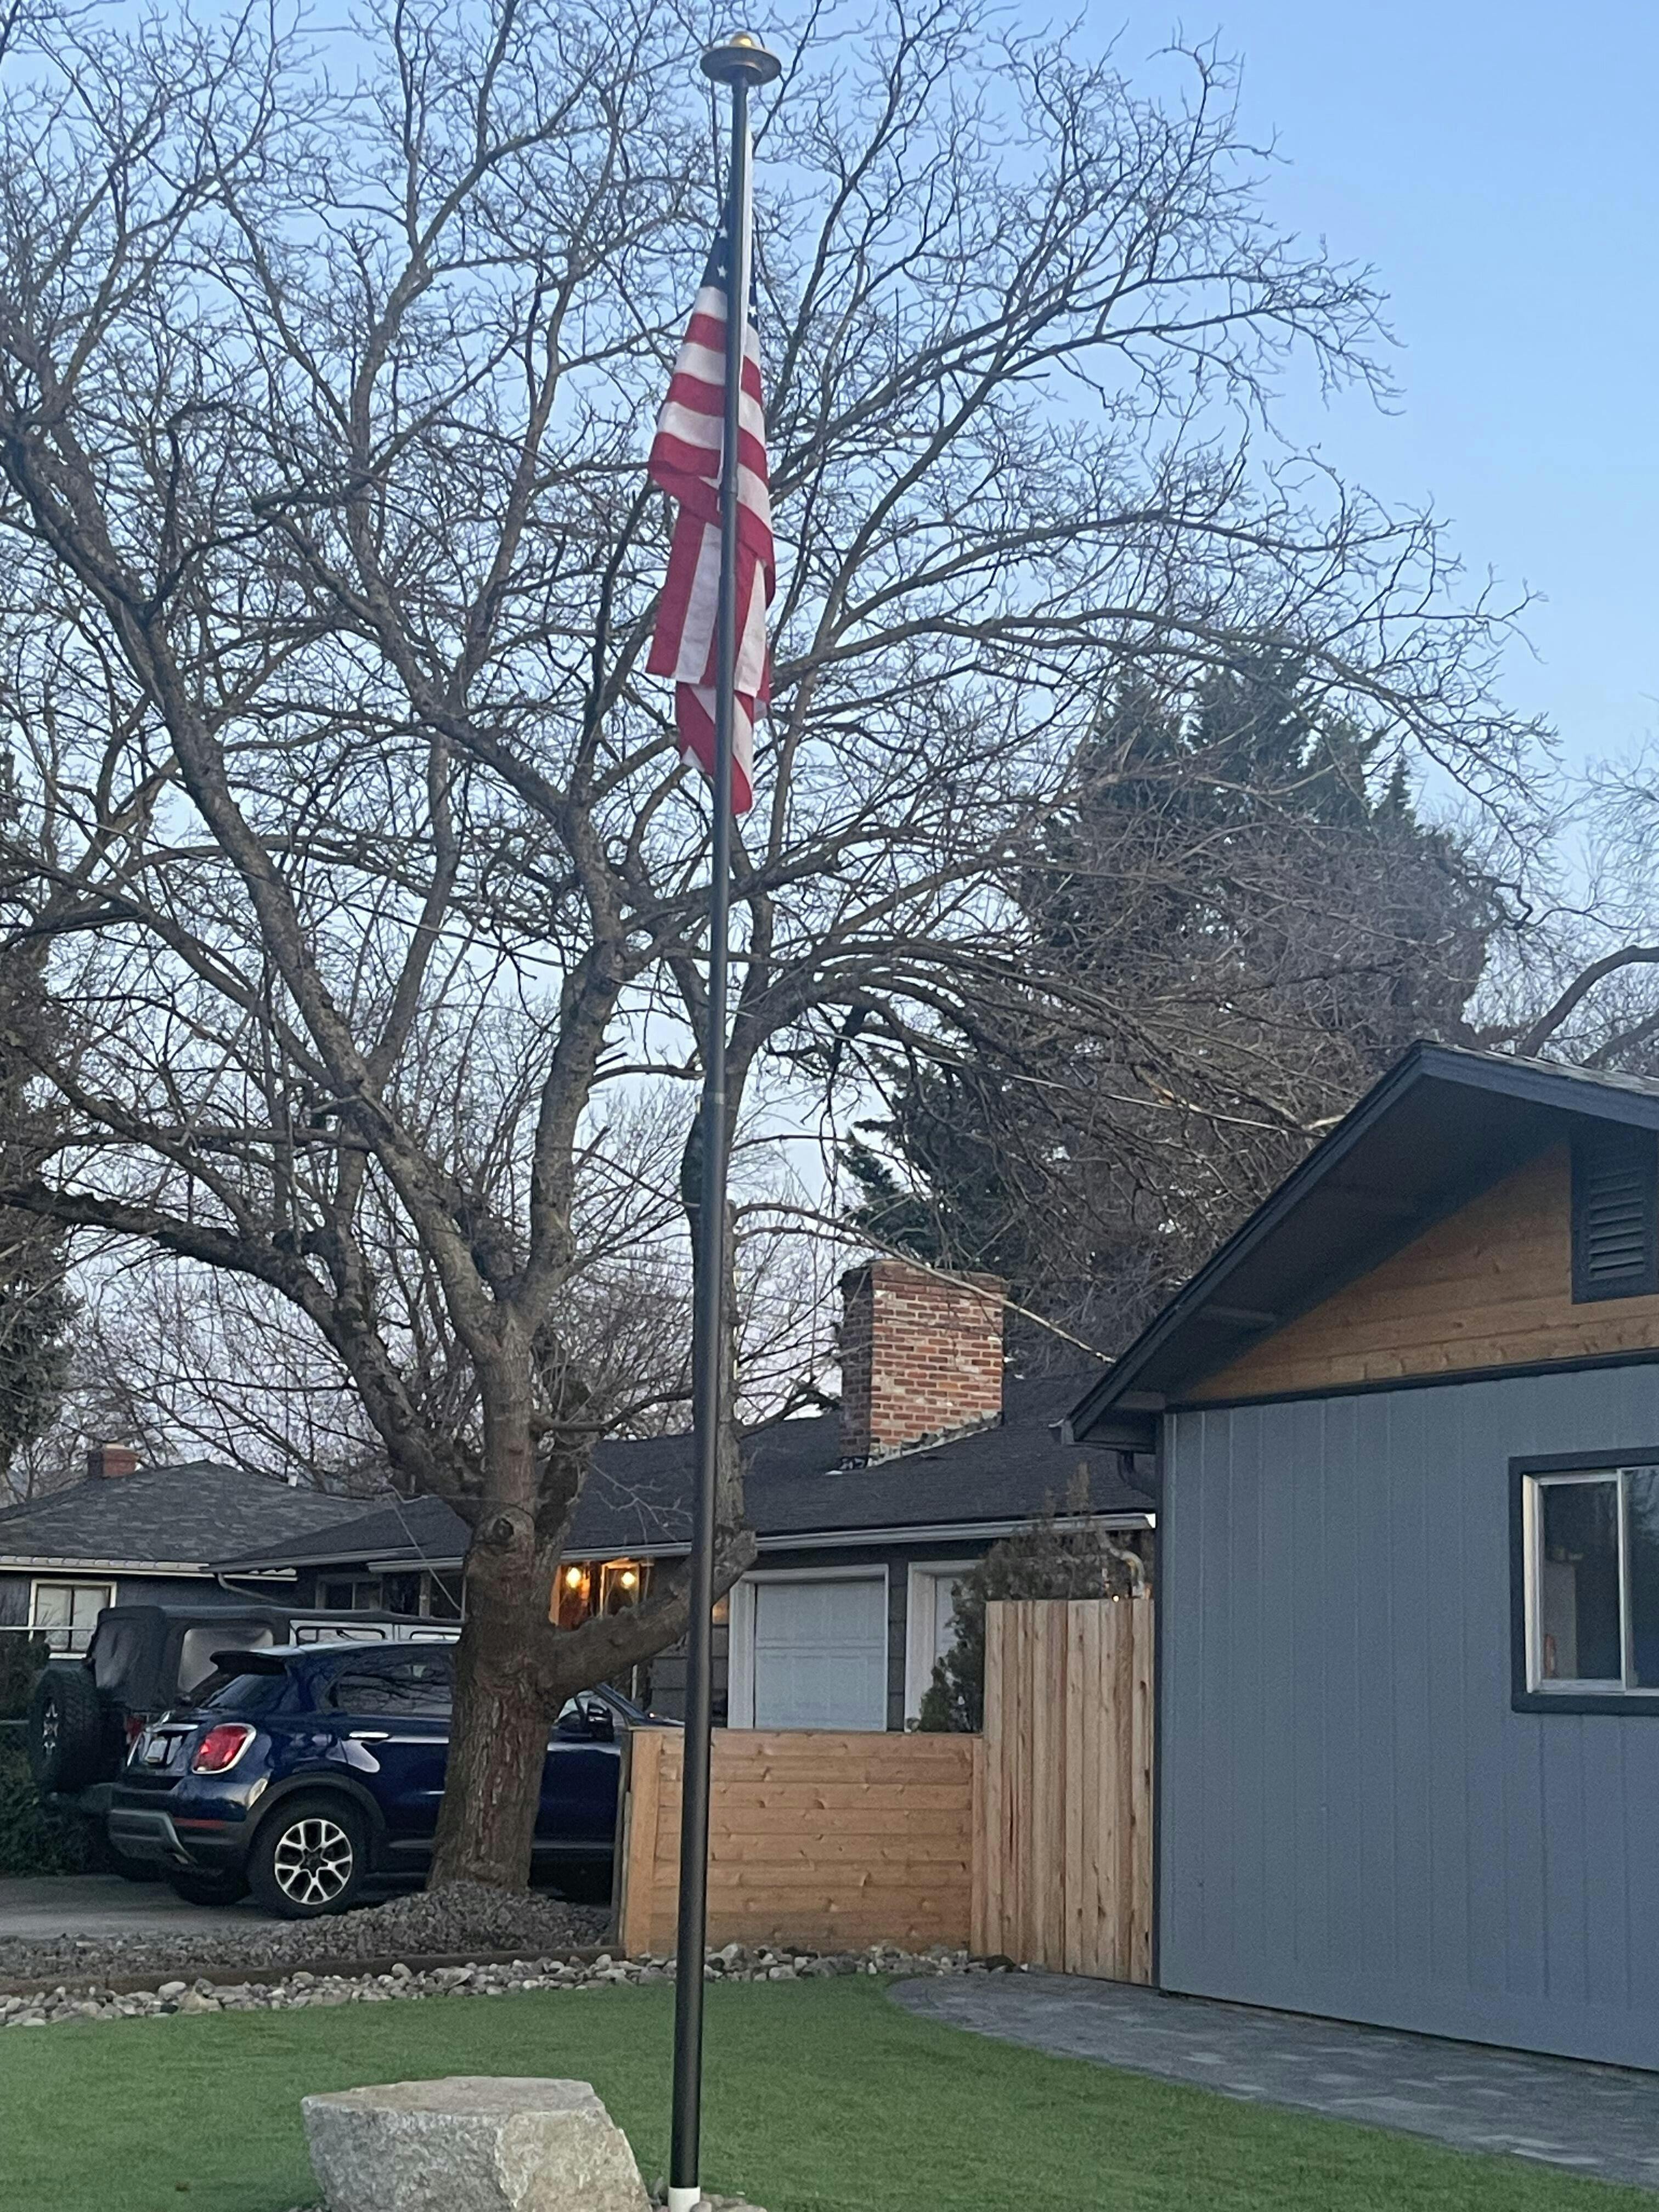
Site Selection and Prep: Setting Yourself Up for a 30‑Minute Success
Great kits save time, but the site still matters:
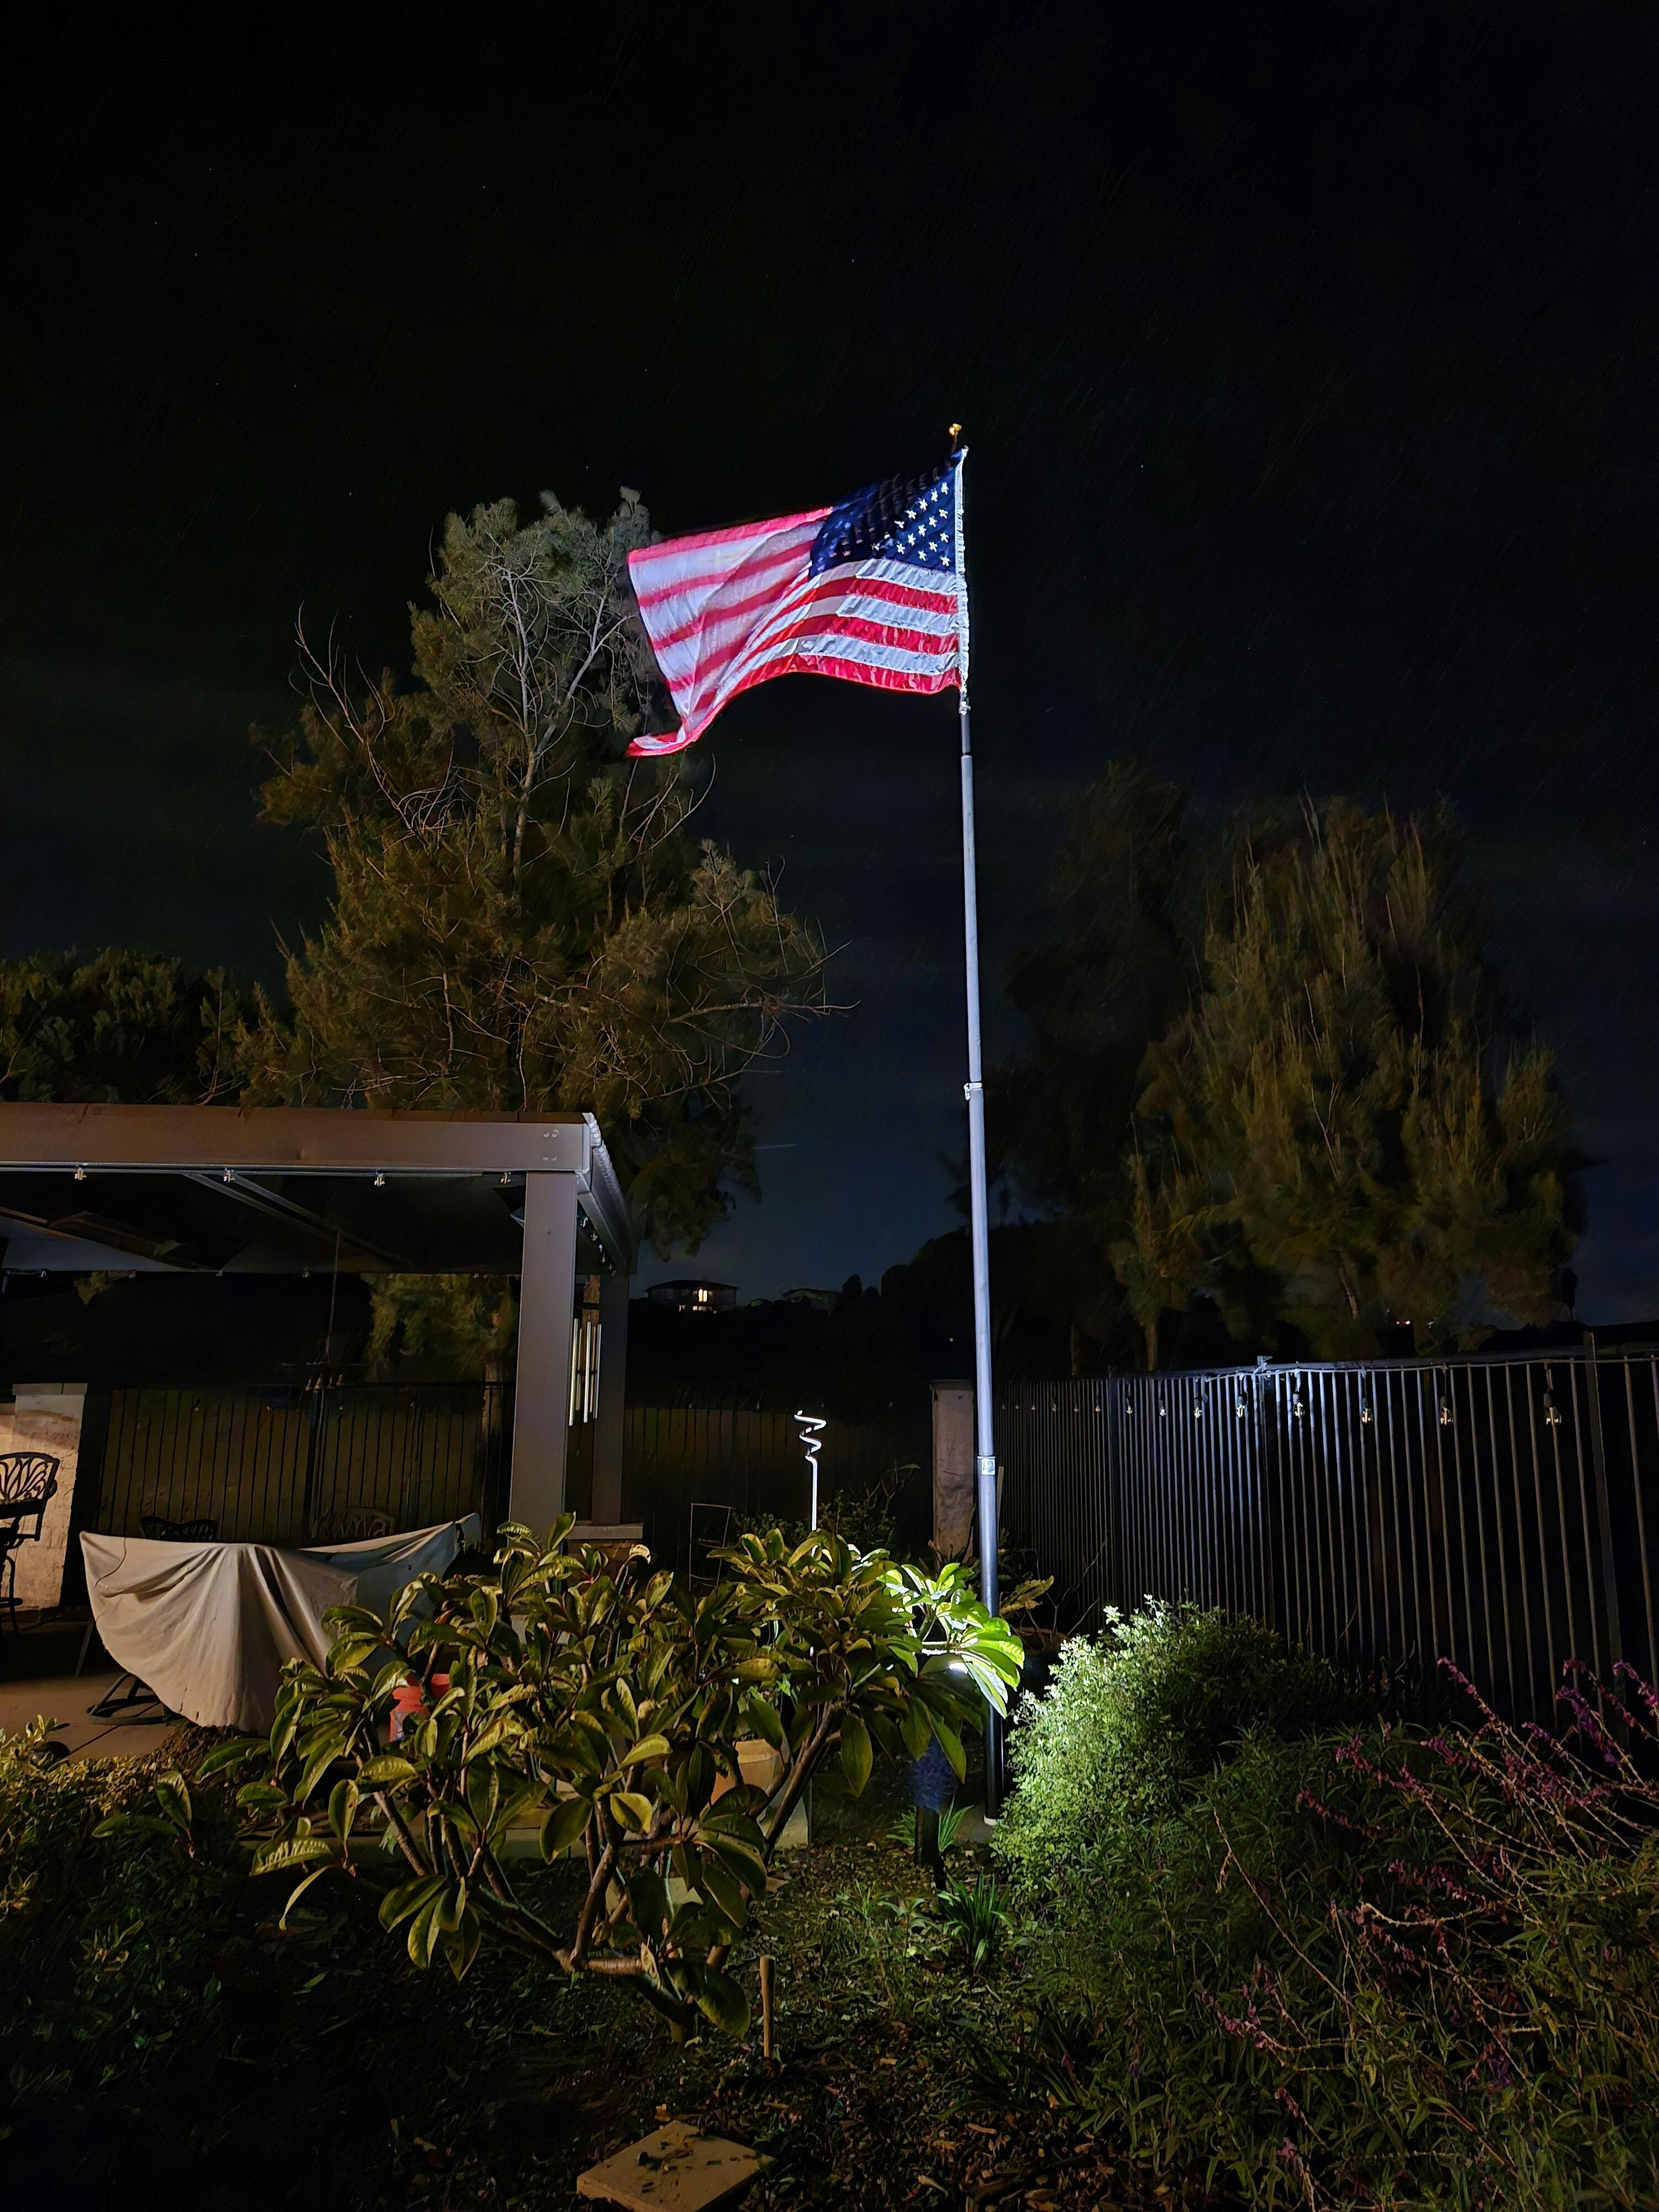
- Code and neighbors: Check local rules, HOA guidelines, and sightlines (especially if flying at night with lighting).
- Utilities and roots: Mark underground lines, and avoid major roots that could shift the base over time.
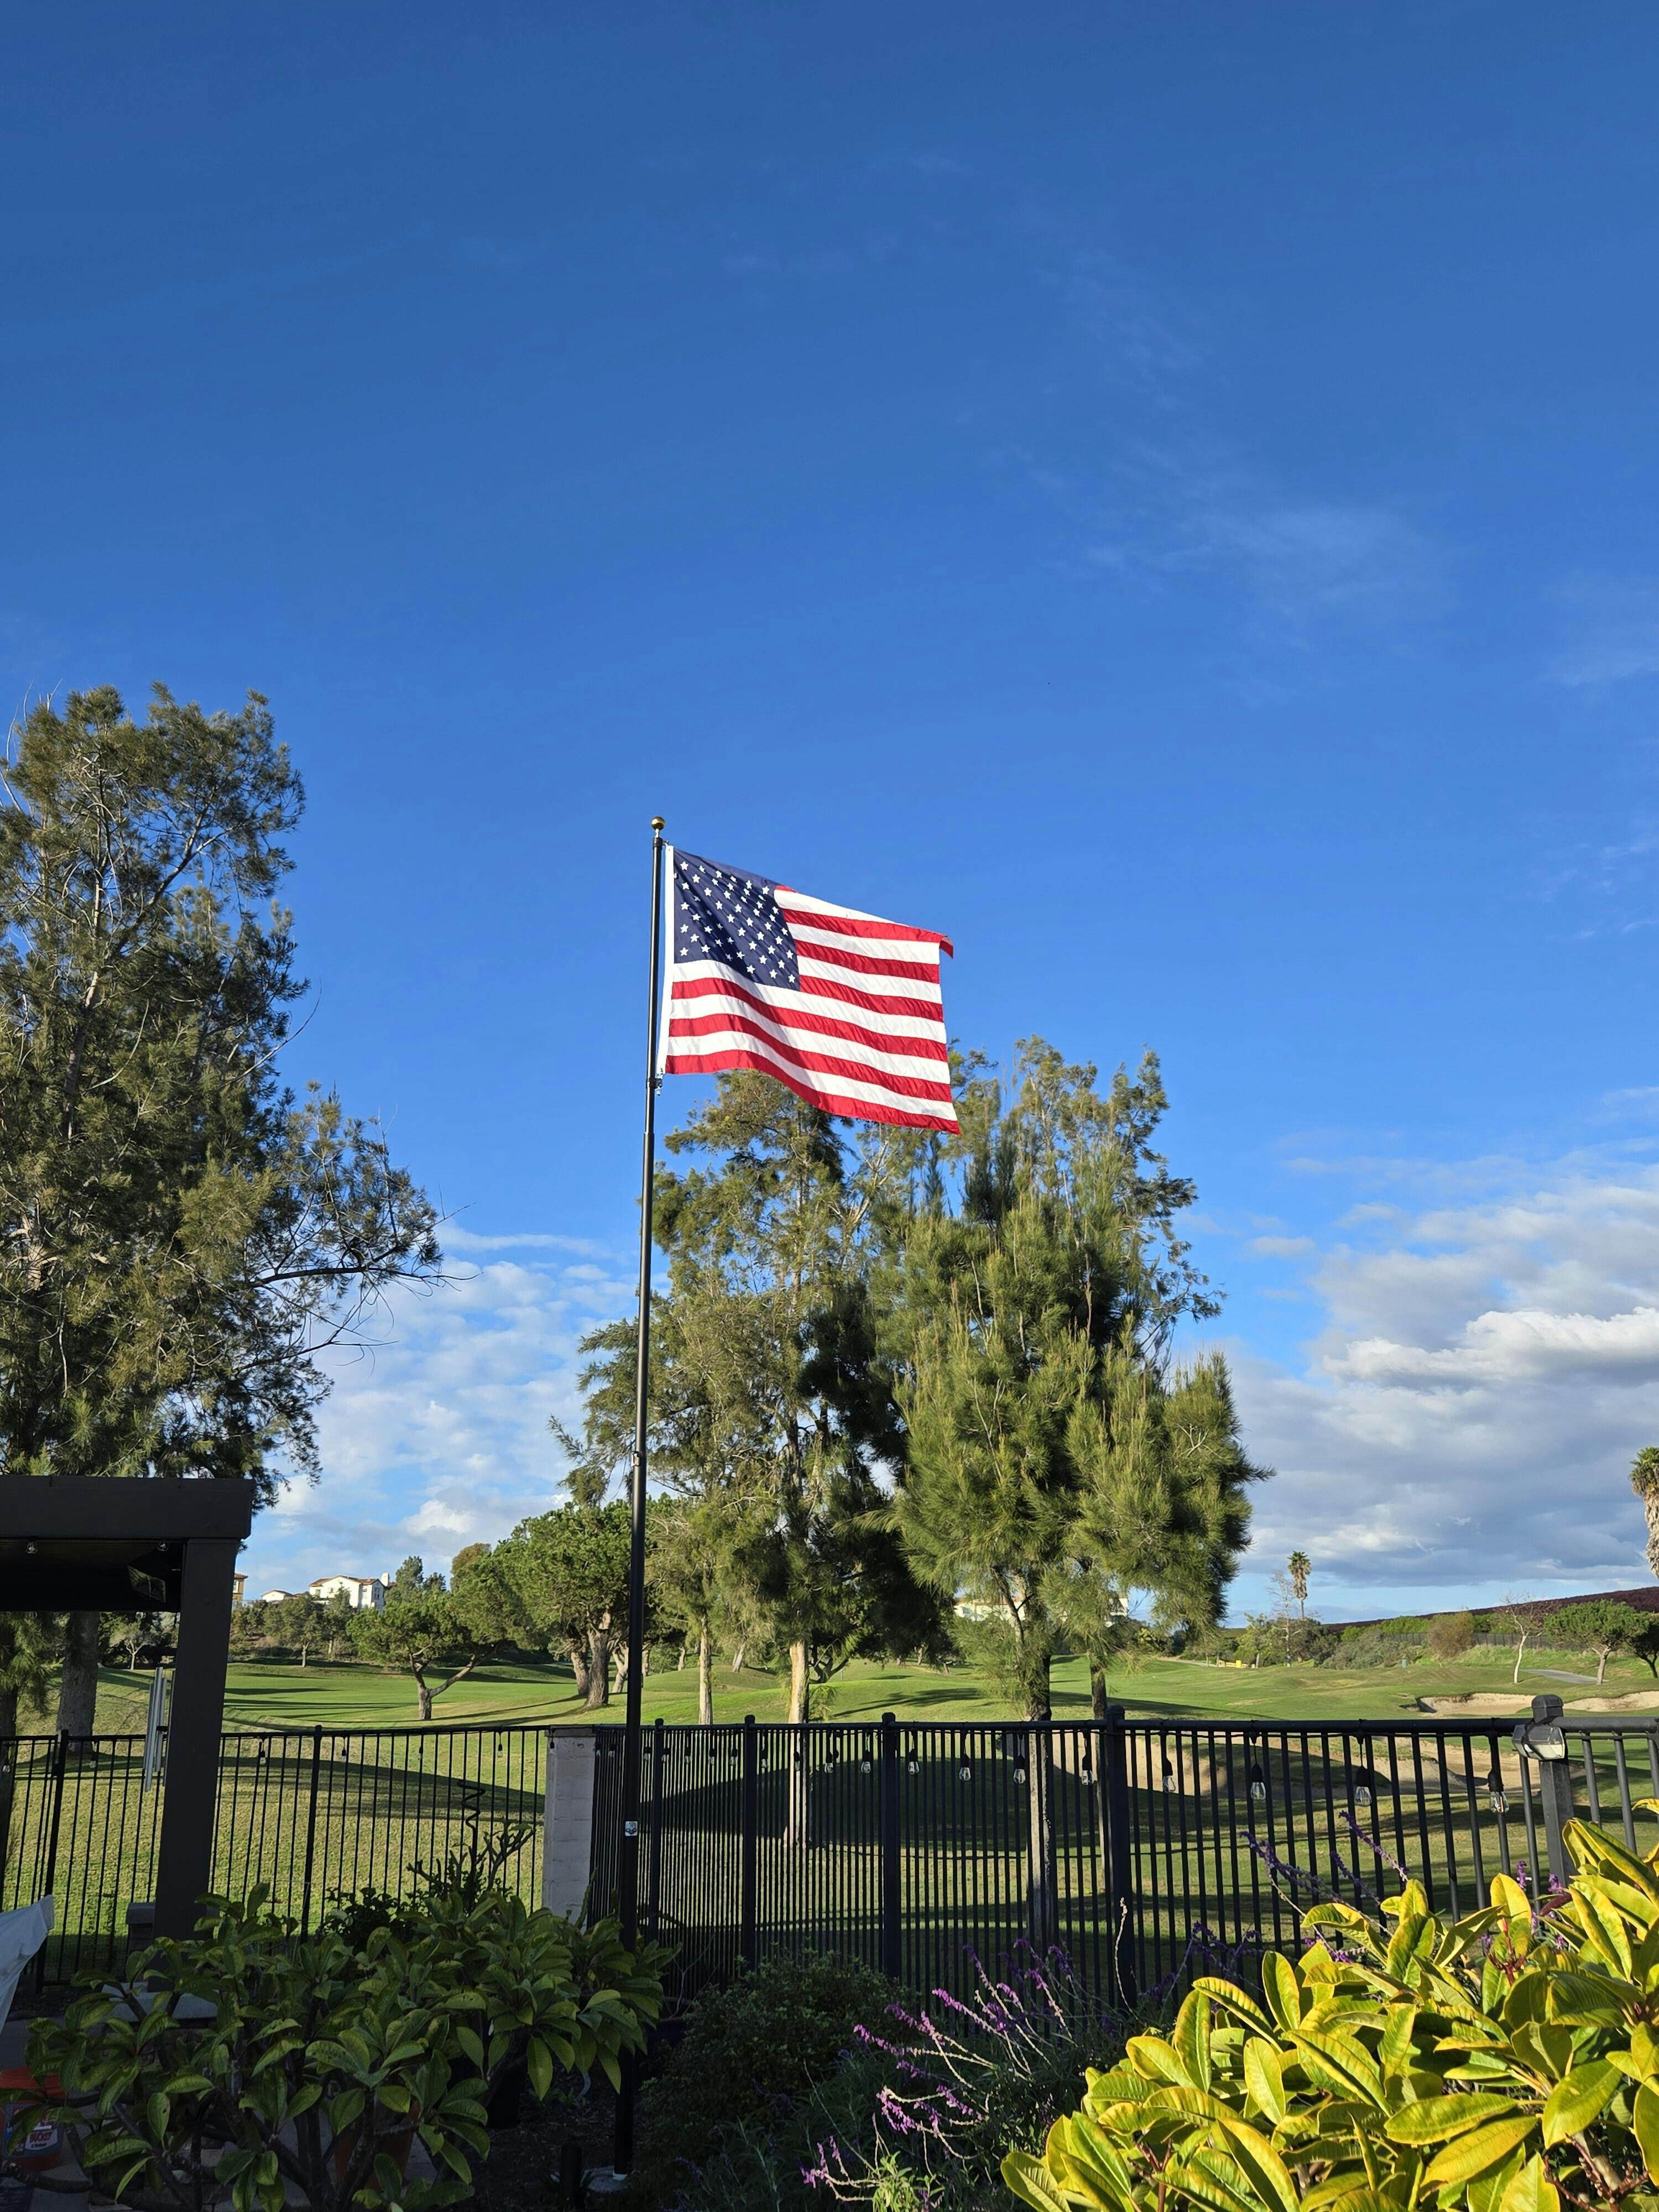
- Visibility and symbolism: Choose a location that complements your home’s symmetry and presents the flag clearly to the street.
- Drainage: Avoid low spots where water pools; sleeves and anchors perform best when the surrounding soil isn’t constantly saturated.
Tools & Safety: Simple Gear That Speeds Things Up
- Helpful tools: Tape measure, level, small spade or post‑hole digger (as required by your kit), tamping rod, and a bucket for backfill.
- Safety first: Gloves, eye protection, and sturdy footwear. Call utility‑marking services as required in your area before digging.
Assembly Flow: A Practical Walkthrough
Every kit is different, so follow the manufacturer’s instructions. Here’s a typical flow for a 30‑minute kit designed for speed:
- Lay out components: Sleeve/anchor, mast sections (or telescoping mast), hardware, flag, and instructions.
- Prepare the opening: Create the hole or anchor placement as specified. Keep it plumb and clear of debris.
- Set the sleeve/anchor: Align per instructions. If backfill is required, tamp as directed for stability.
- Assemble the mast: If telescoping, test the extension/retraction without the flag first to confirm lock action.
- Attach hardware and flag: Mount rings, swivels, halyard, and flag clips. Confirm the flag flies free.
- Final plumb check: Use a level to confirm the mast is true. Adjust at the sleeve/anchor if your kit allows.
- Raise and celebrate: Extend the mast or hoist the flag, then secure per the kit’s locking procedure.
Care & Maintenance: Protect Your Investment
Fast installations can still be long‑term installations. Maintain with simple habits:
- Seasonal inspection: Check locks, fittings, and any moving parts. Replace worn rings or clips before they fail.
- Finish care: Keep the mast clean; rinse away salt or road film. Avoid abrasives that can mar anodized surfaces.
- Wind discipline: Follow guidance on number/size of flags in high winds, and lower as conditions dictate.
- Lighting upkeep: For solar, clean panels and confirm charge; for wired, verify connections and weatherproofing. See Lighting For Flagpoles.
When to Choose Telescoping vs. Sectional
Telescoping designs are often the fastest to install and simplest to operate—ideal for 30‑minute kits. Sectional poles can work well but may add time as you align and secure joints. Browse primers like Telescoping Flagpole and Flagpole Kit to understand which approach fits your timeline and maintenance preferences.
Common Mistakes to Avoid
- Rushing site selection: Taking five extra minutes to confirm sightlines and wind exposure pays off.
- Skipping a dry run: Layout prevents missed steps and “where’s that part?” scrambling.
- Ignoring plumb: A proud, vertical mast is the difference between “good” and “great.”
- Over‑tightening hardware: Smooth, snug fittings prevent damage and reduce future maintenance.
- Forgetting utility checks: Always verify underground lines before digging.
Resources & Further Reading from Atlantic Flagpole
- Flag Poles For Sale
- Flags For Flag Poles
- News - Atlantic Flag and Pole
- Flagpoles – Atlantic Flagpole
Ready to Compare 30‑Minute Kits?
Explore Atlantic Flagpole’s guidance and current offerings. Verify installation method, materials, and compatibility with your site, then choose the tier that matches your budget and performance goals.
Browse Flagpole Kit Guides See Telescoping InsightsFinal Thought: Fast Install, Tailored Quality
A 30‑minute flagpole installation kit is about more than saving time. It’s about craftsmanship expressed through smart engineering and durable materials—like a well‑cut Italian suit that looks and feels right the moment you put it on. Choose a kit that balances speed with substance, and you’ll have a flag display that’s quick to install, a pleasure to operate, and built to honor what you fly—season after season.