Installing a residential flagpole is a weekend project most homeowners can complete without professional help. The tools are basic, the materials are inexpensive, and the result lasts decades. This guide covers in-ground installation for telescoping flagpoles — the most common residential setup.
What You'll Need
- Telescoping flagpole kit (includes ground sleeve, flash collar, and pole sections)
- Post hole digger or power auger (rental ~$50-75/day)
- 80 lb bags of fast-setting concrete mix (2-3 bags)
- Water and bucket
- Level (4ft recommended)
- Tape measure
- Permanent marker
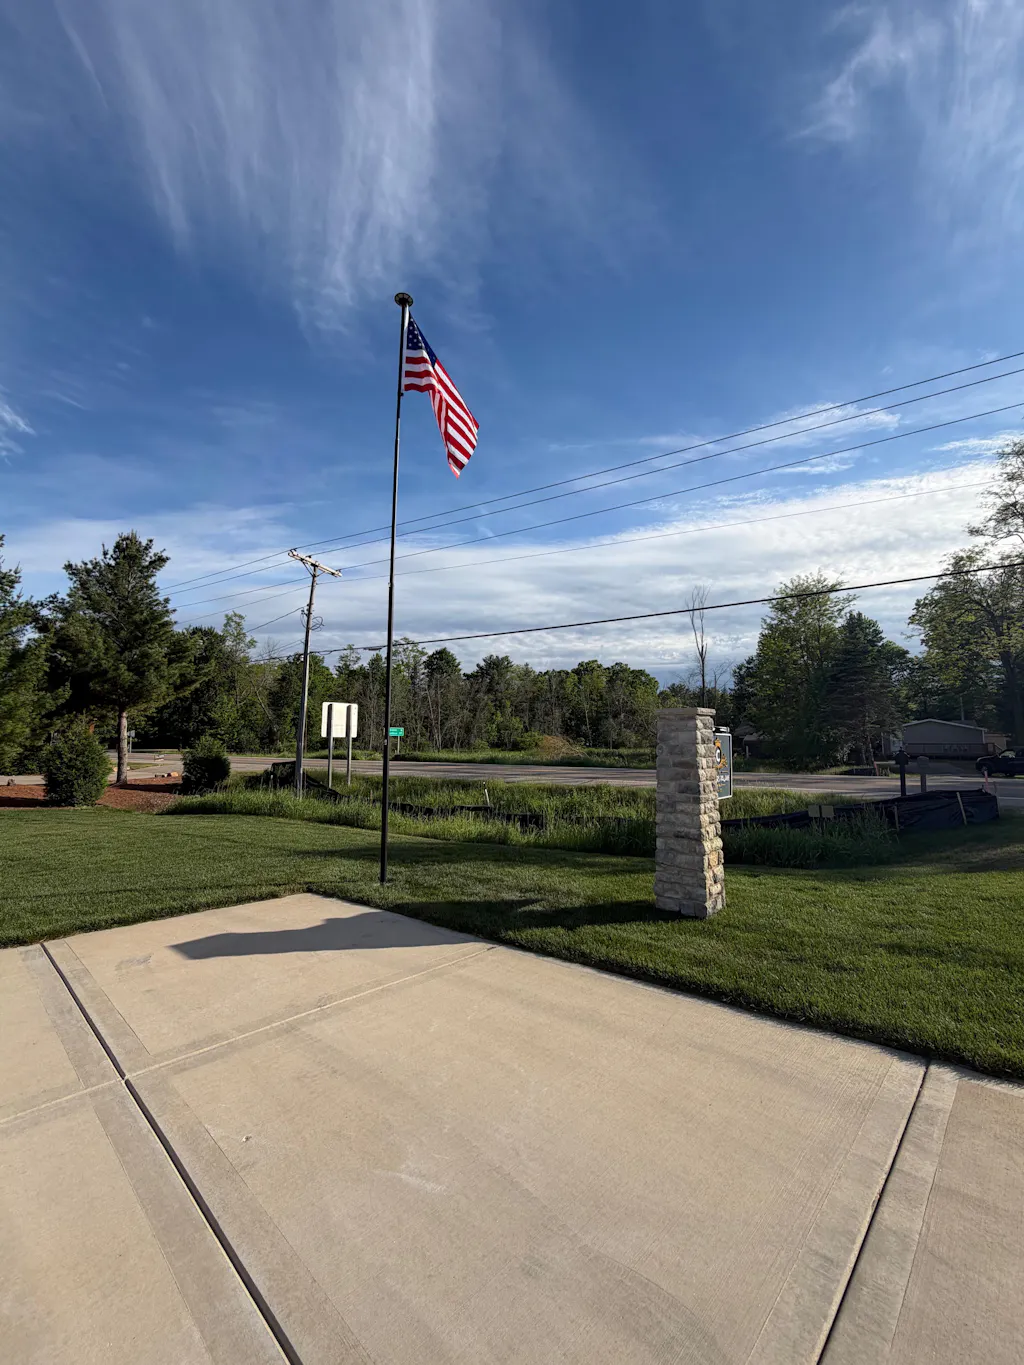
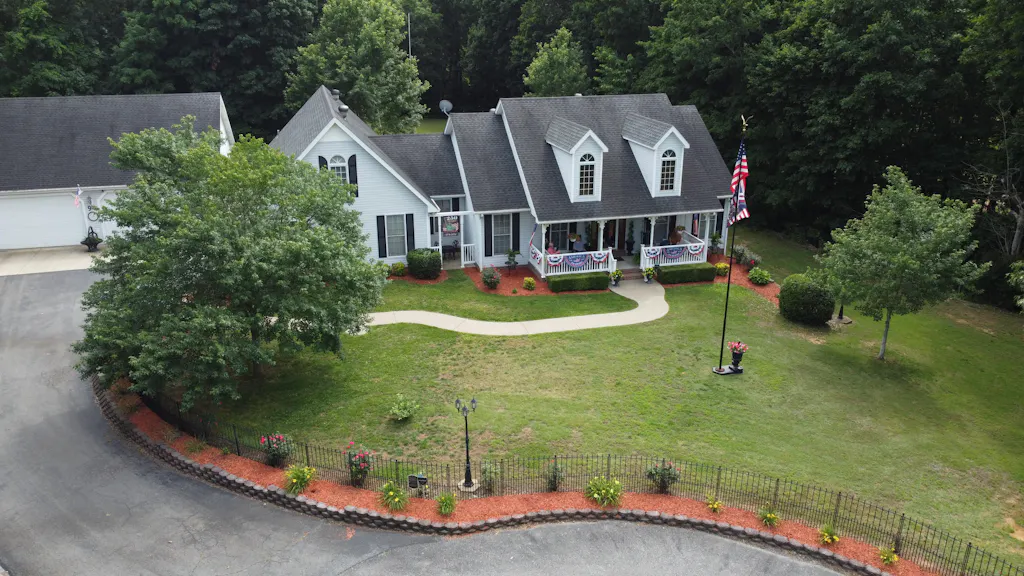
Step 1: Choose Your Location
Select a location with a clear view from the street, away from overhead power lines, trees, and structures. The general safety rule: the pole should be at least 1x its height from any structure or utility line. For a 20ft pole, that means 20ft of clear space in all directions it could potentially fall.
Check with your utility company before digging — in the US, call 811 (free) at least 3 business days before digging to have underground utilities marked.
Step 2: Dig the Hole
Standard depth recommendations by pole height:
- 15ft pole → 24" deep, 10" diameter
- 20ft pole → 28"-30" deep, 12" diameter
- 25ft pole → 36" deep, 12"-14" diameter
Deeper is better in frost-prone regions — the bottom of the ground sleeve should be below your local frost line to prevent heaving.
Step 3: Set the Ground Sleeve

Place the ground sleeve in the hole and use a level to confirm it is perfectly plumb (vertical) in both directions. This is the most critical step — if the sleeve is off-level, the pole will lean visibly. Have a helper hold the sleeve while you check level, or brace it temporarily with stakes.
Mix concrete per bag instructions and pour around the sleeve. Do not fill to the top — leave 2-3 inches below grade to account for the flash collar and to prevent water pooling.
Step 4: Wait for Concrete to Cure
Fast-setting concrete reaches working strength in 20-40 minutes but full cure takes 24-48 hours. Do not mount the pole until concrete has fully cured. Mounting too early can shift the sleeve out of plumb before the concrete sets.
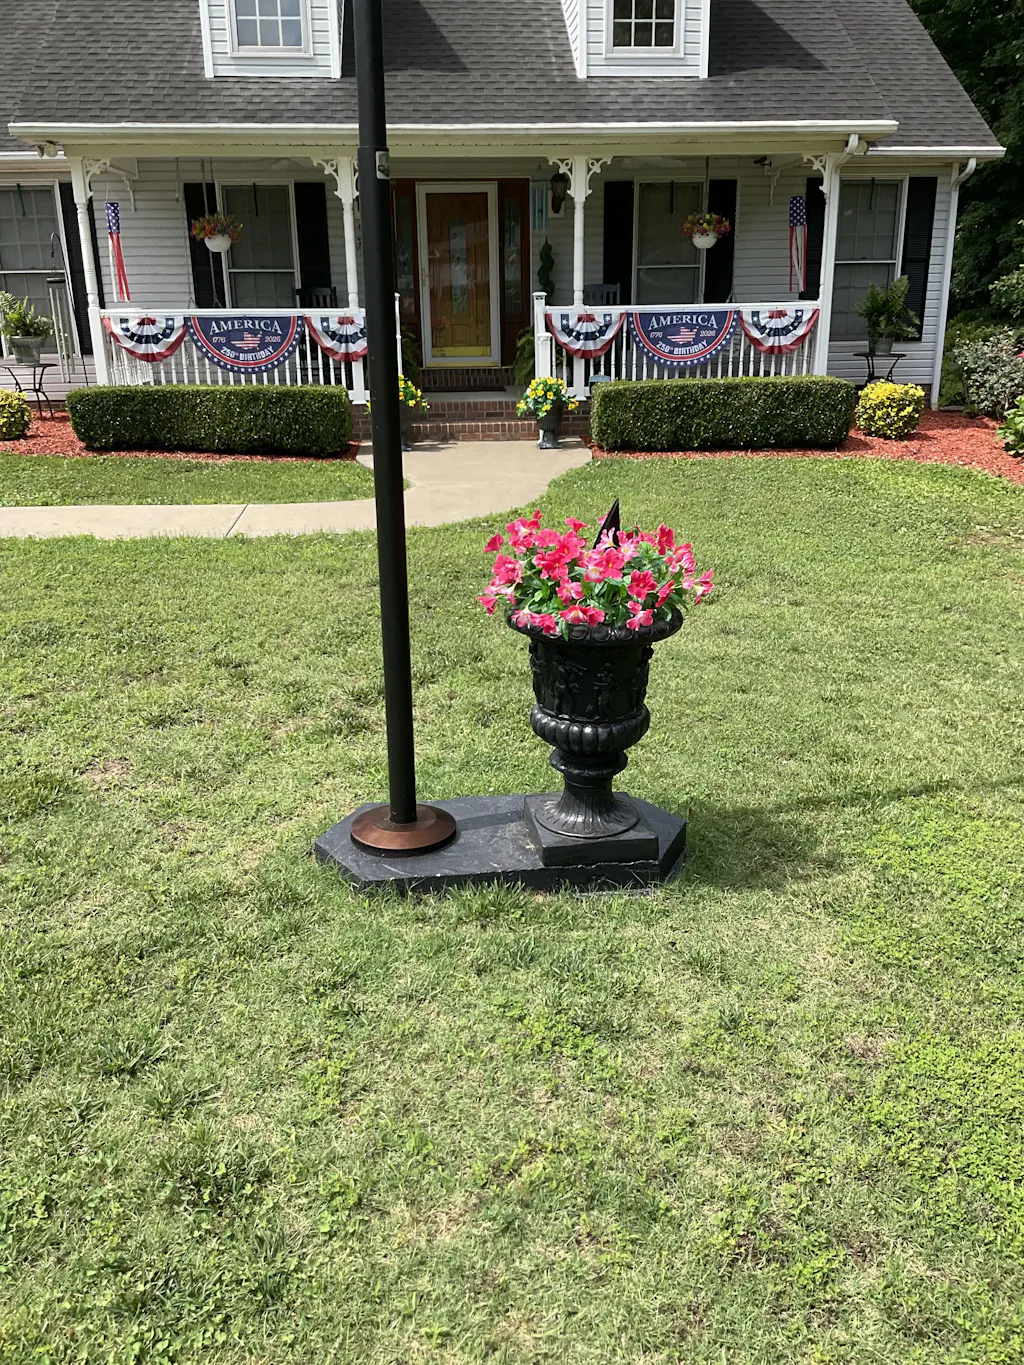
Step 5: Install the Flash Collar and Mount the Pole
Slide the decorative flash collar over the pole base before inserting into the ground sleeve. Insert the pole into the sleeve and tighten the set screws per your kit instructions. The flash collar sits at ground level, covering the gap between pole and sleeve for a clean finished look.
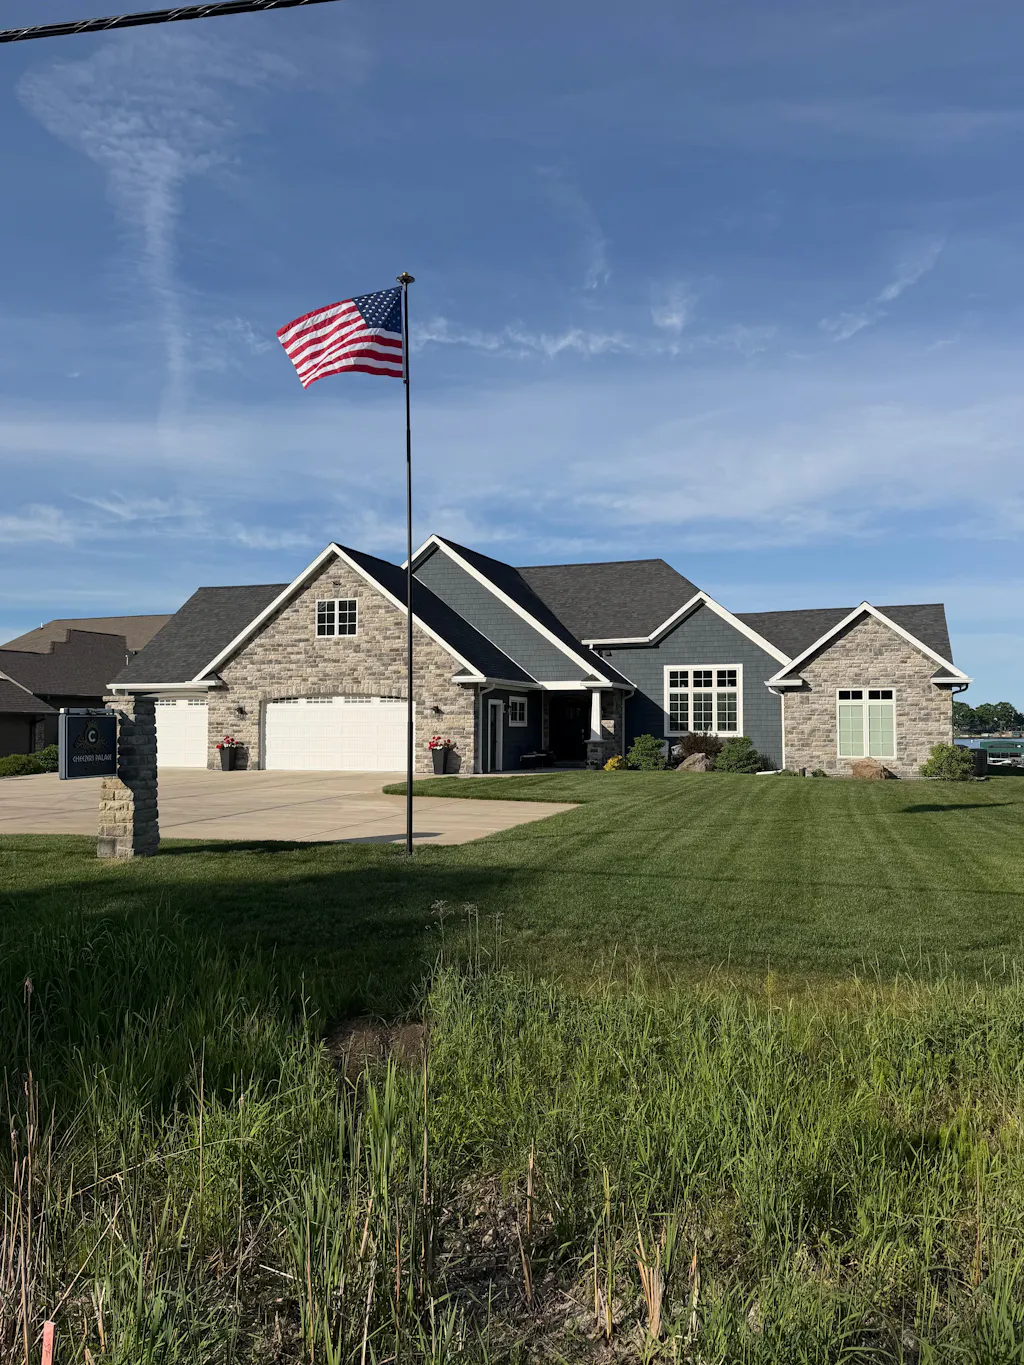
Step 6: Attach Your Flag and Fly
On Phoenix telescoping flagpoles, attach your flag grommets to the rotating flag clips on the pole sections. Extend each section to the next locking position and confirm the Securi-LOK™ twist-lock engages. Raise all sections and you're flying.
Get Your Flagpole Kit
- Complete Flagpole Kits — pole, flag, eagle topper, ground sleeve & hardware
- Phoenix Premier Kit — most popular, easiest to install residential kit
- Flagpole Parts — ground sleeves, flash collars, individual components
- Official Installation Guide — video walkthrough + written instructions
- Our Guarantee — Forever Warranty covers your pole after installation